How to measure potential of reference electrodes vs. RHE
- 1. Introduction
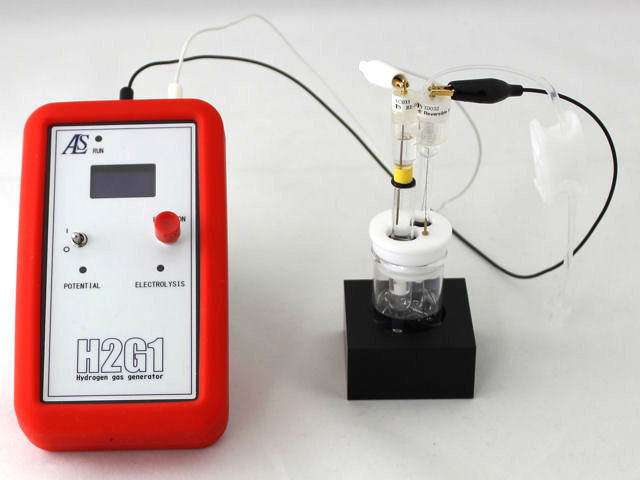
- 2. Instrumentation
- 3. RHE Preparation using H2G1
- 4. Potential measurement vs. RHE using H2G1
1. Introduction
⋅ In electrochemistry, a specific potential is applied upon a working electrode in order to let a specific reaction occur.
The potential of the working electrode should be always exactly specified.
⋅ Reference electrodes are benchmark for applied potential to working electrodes.
Accuracy and stability are required for reference electrodes.
⋅ In actual application, the potential of reference electrodes might be shifted according to spent hours.
That is the reason we have to measure the potential of reference electrodes against Reversible Hydrogen Electrode (RHE) and calibrate the potential on a daily basis.
⋅ Here, we will introduce how to set up RHEK Reversible Hydrogen Electrode Kit.
In addition to that, by using the representative reference electrode, RE-1BP Reference electrode (Ag/AgCl), we will show the measurement procedure of potential measurements (calibration) of reference electrodes.
2. Instrumentation
2.1 Device, Accessories, Reagents
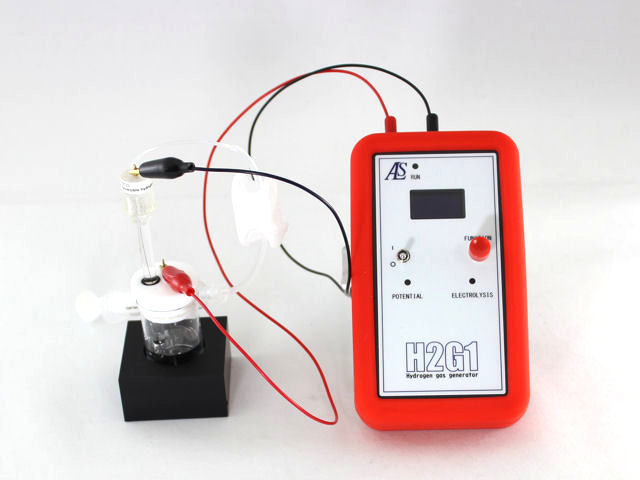
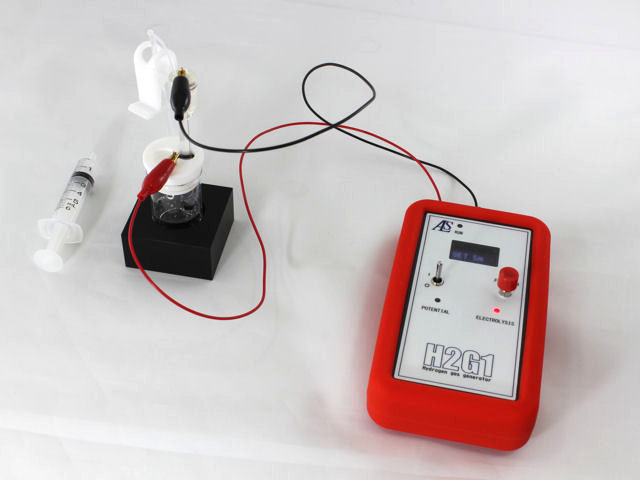
H2G1 Portable Hydrogen Generator
Model 2325 Bi-Potentiostat
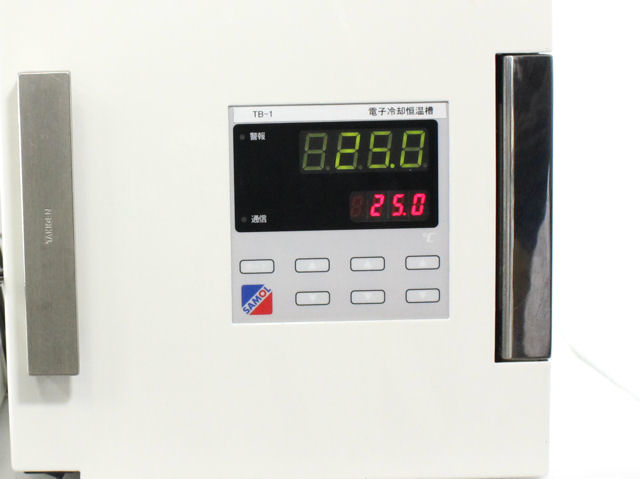
TB-1 Thermostatic Chamber
RHEK Reversible Hydrogen Electrode Kit
Sample holder dia 9.0 mm
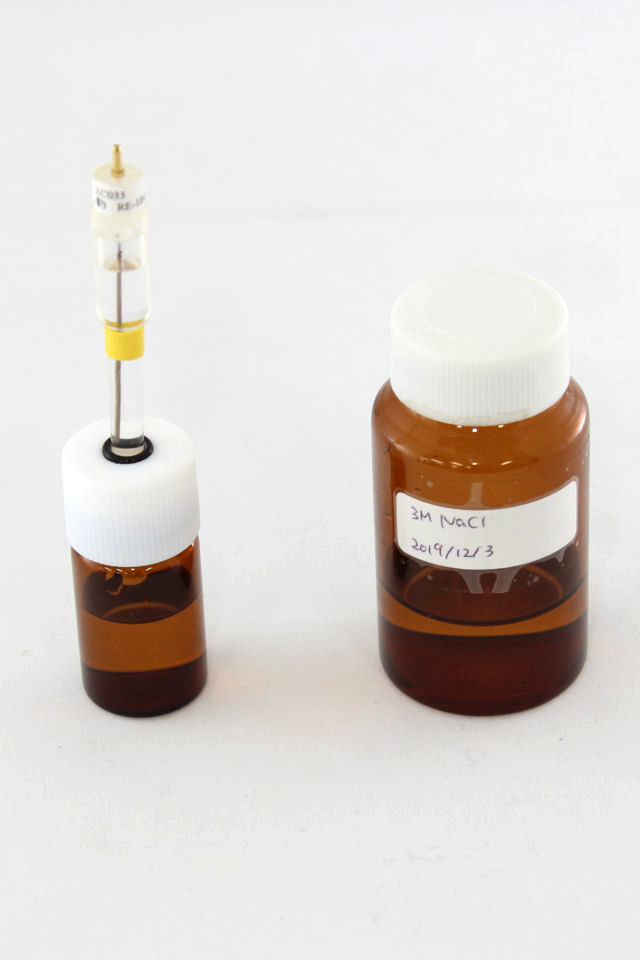
RE-1BP Reference electrode (Ag/AgCl)
SVC-2 Voltammetry cell
RE-PV Preservative vial for reference electrode
Cell holder for 20 mL vial
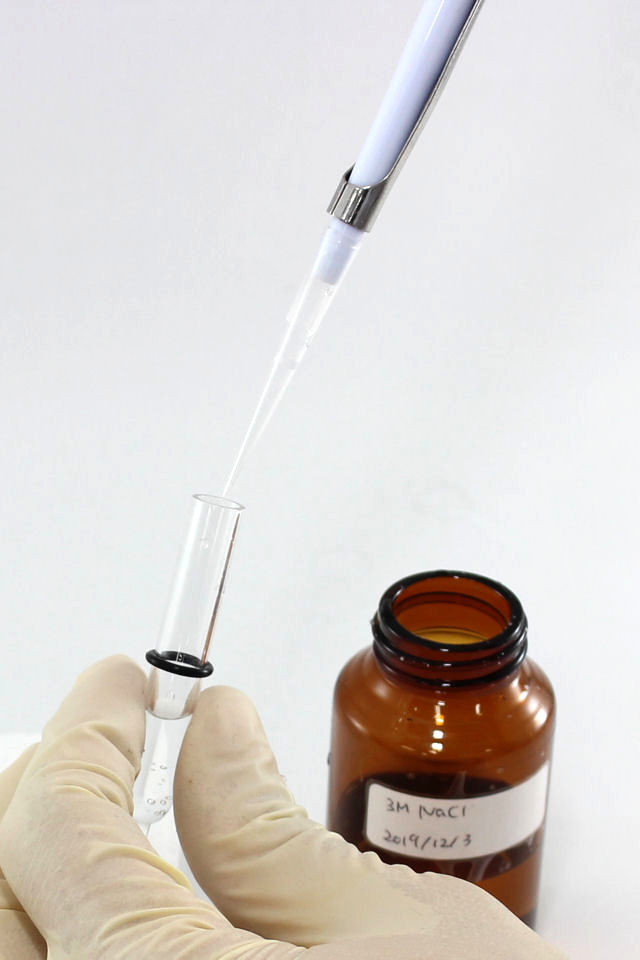
Pipette
Distilled water
1.2 M HCl solution
3.0 M NaCl solution
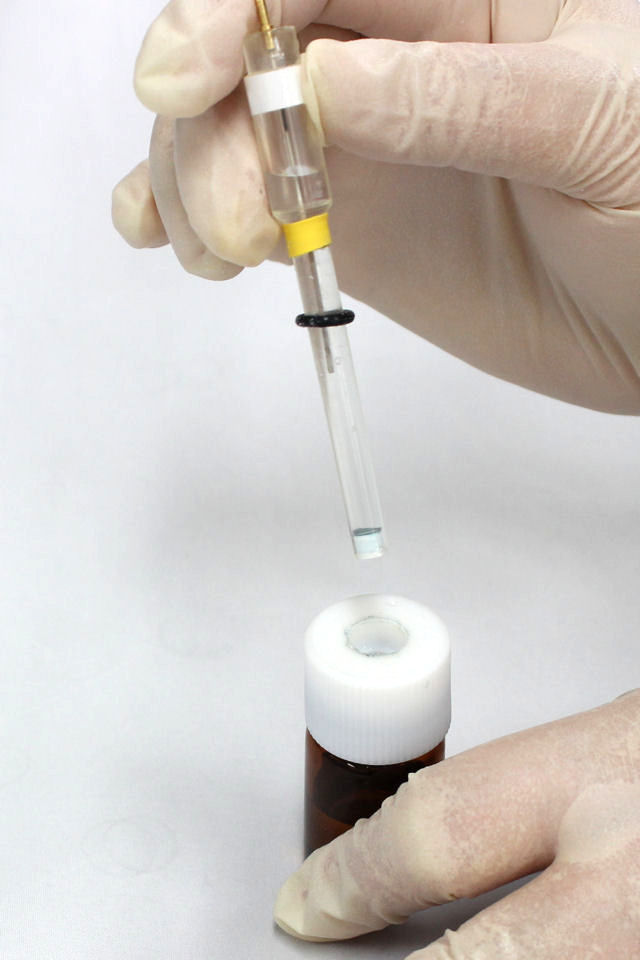
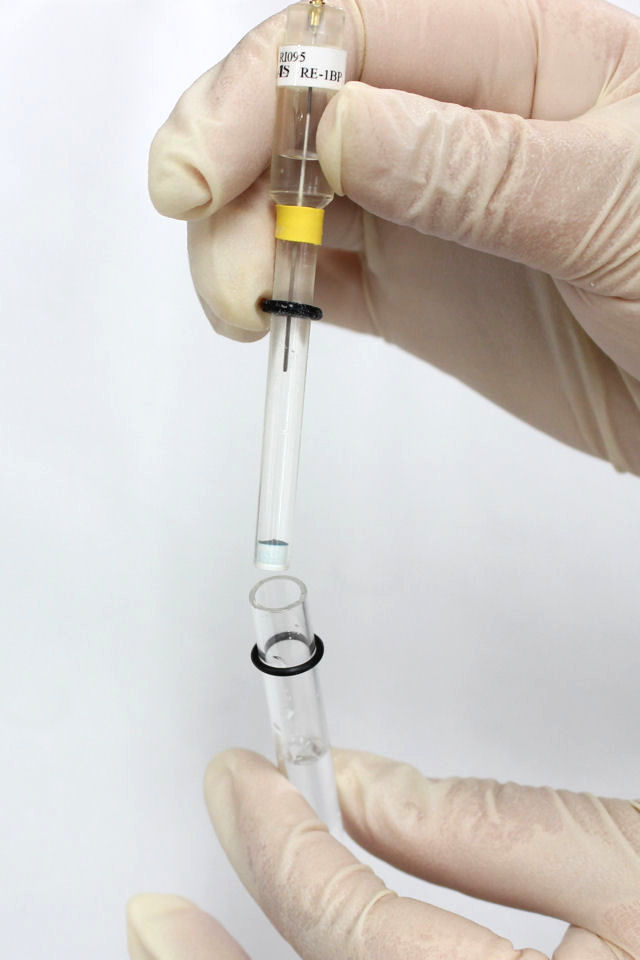
2.2 Pretreatment
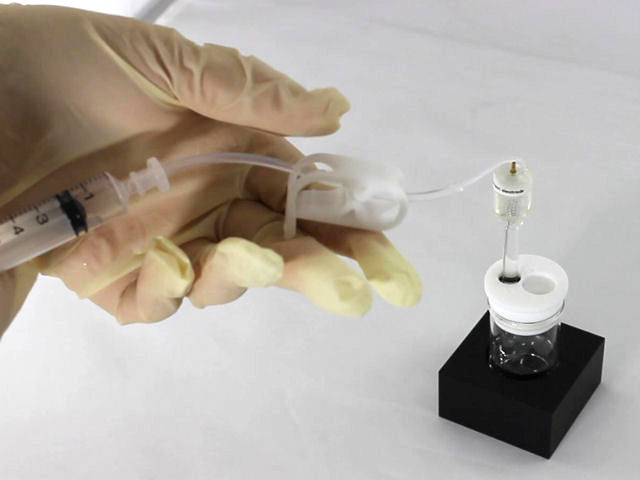
Movie: How to use
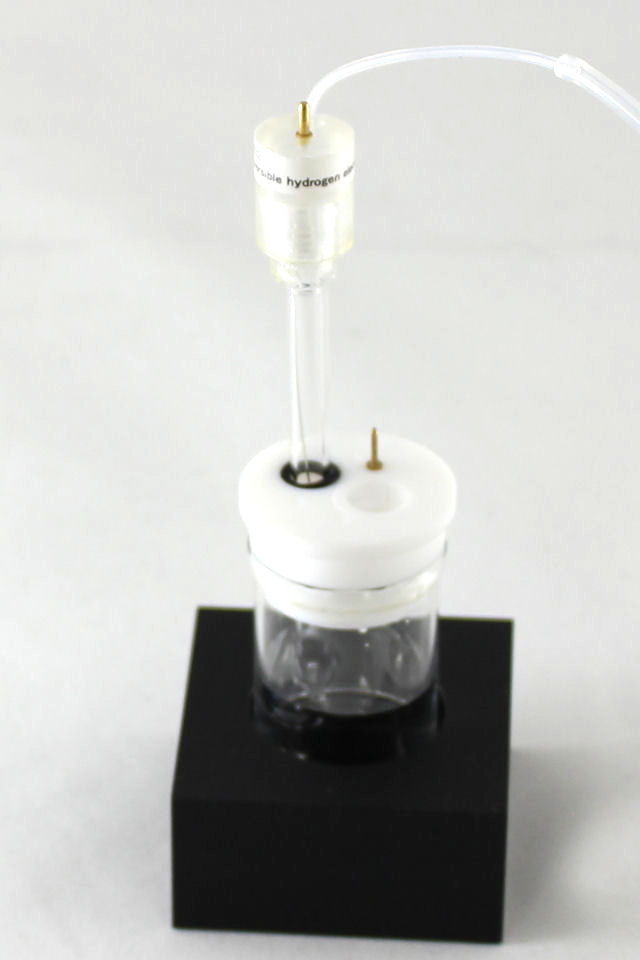
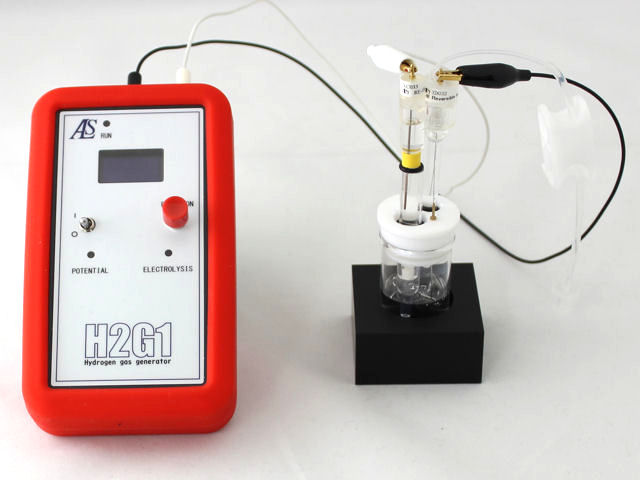
3. RHE Preparation using H2G1
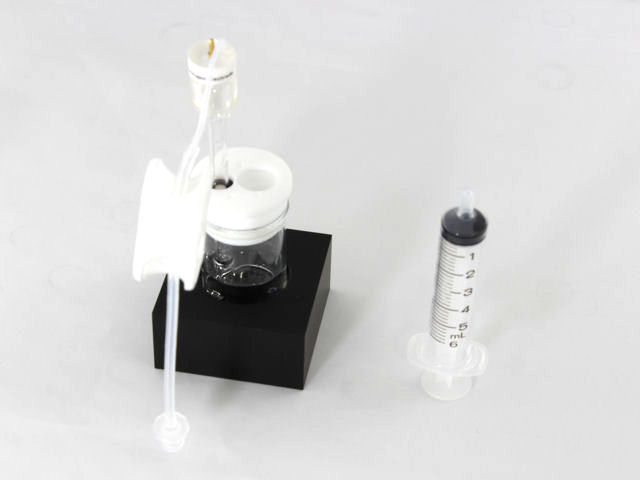
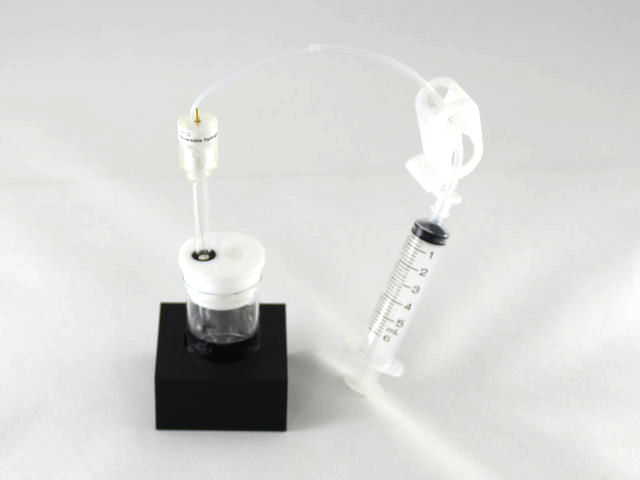
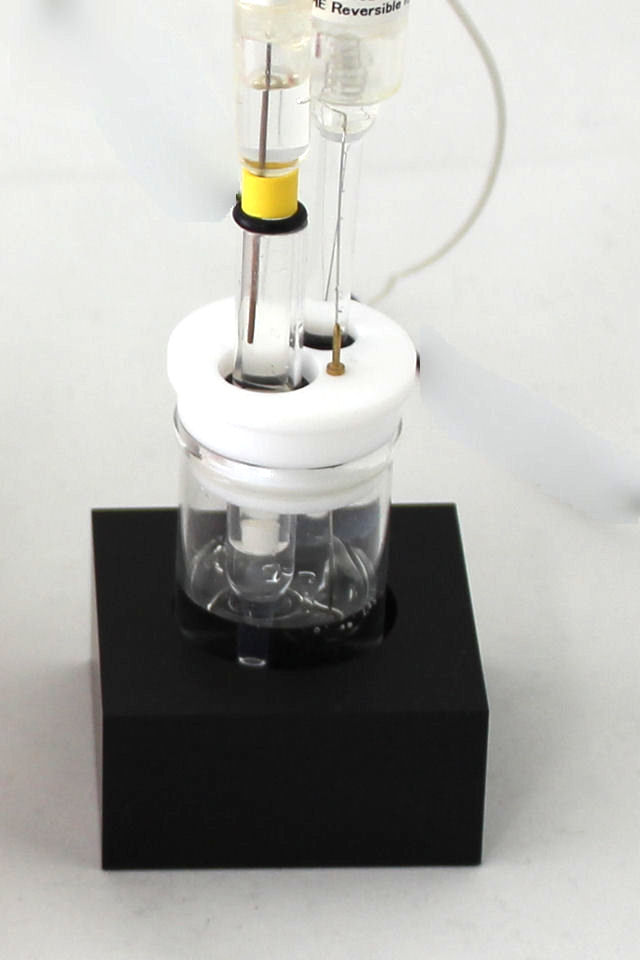
3.1 Setup(Configuration)
Note
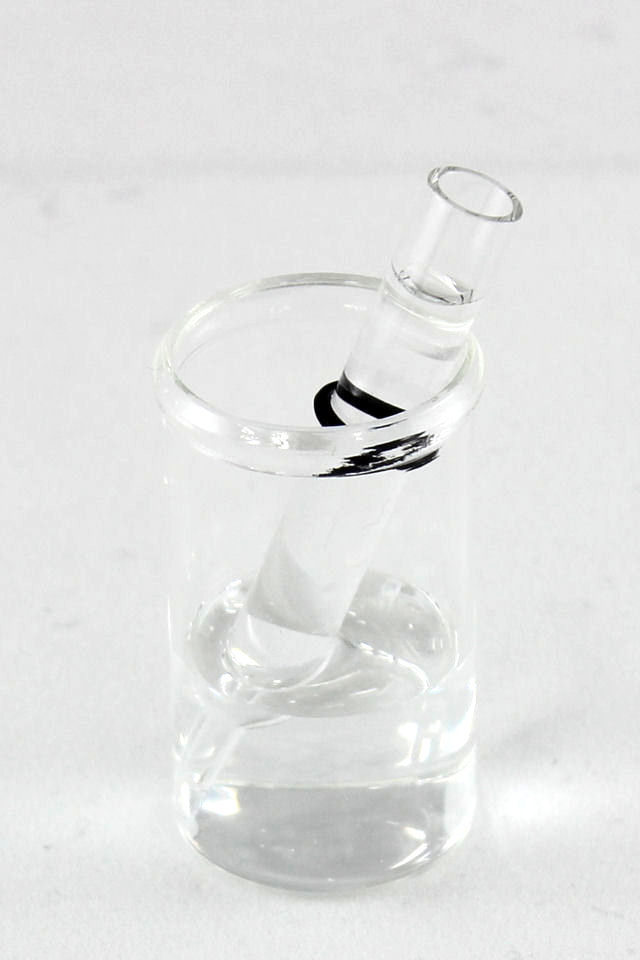
⋅ Take care of air bubbles.
⋅ Make sure to fit the O-ring into the hole of the Telron cap of SVC-2.
H2G1 Portable Hydrogen Generator
⋅Accessories
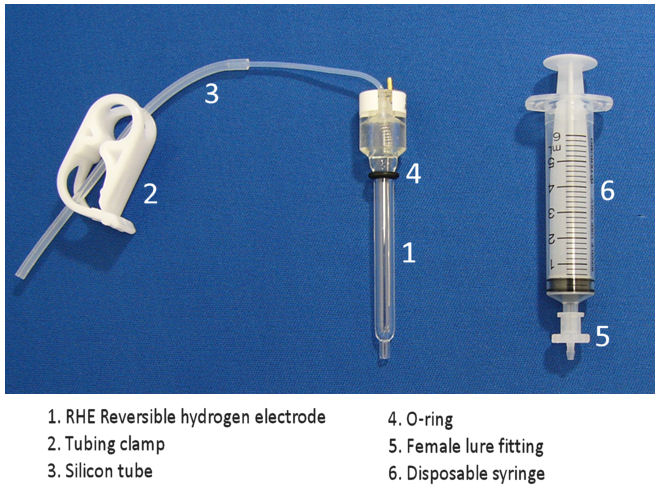
RHEK Reversible Hydrogen Electrode Kit
RHE Reversible hydrogen electrode
Tubing clamp
Silicone tube (10 cm) x 3
O-ring
Female lure fitting
Disposable syringe
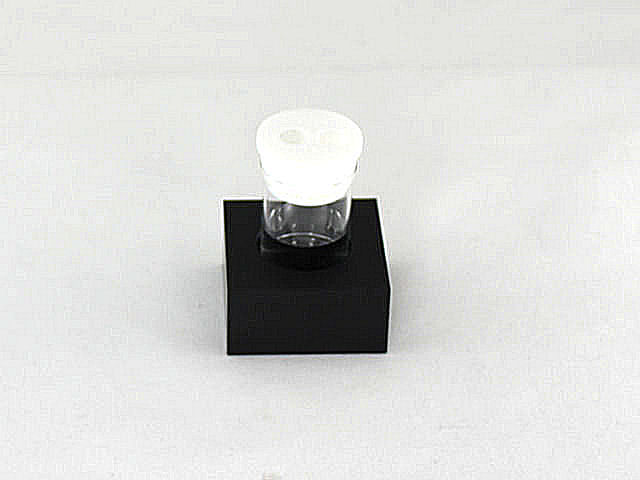
SVC-2 Voltammetry cell
(content)
Sample vial (20 ml) x 7
Platinum counter electrode 5.7 cm
Teflon cap for SVC-2
Purging tube 30 cm
Cell holder for 20 mL vial
⋅Reagents
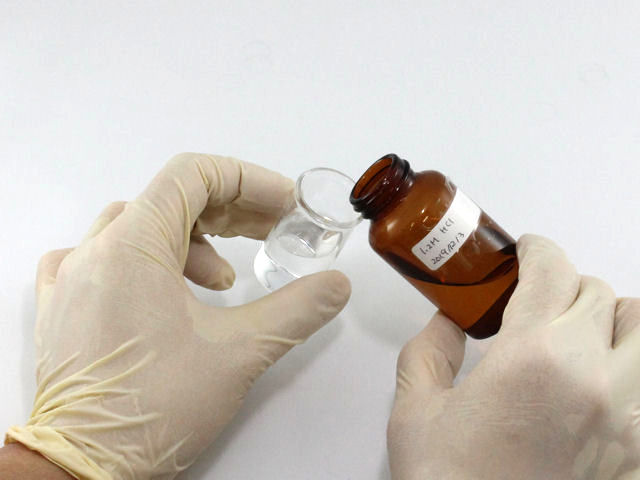
1.2 M HCl solution
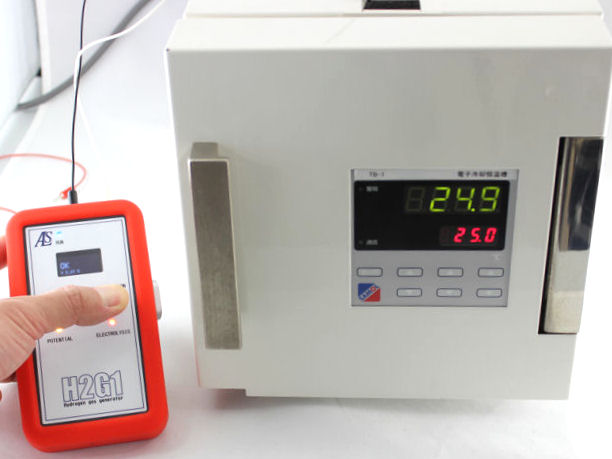
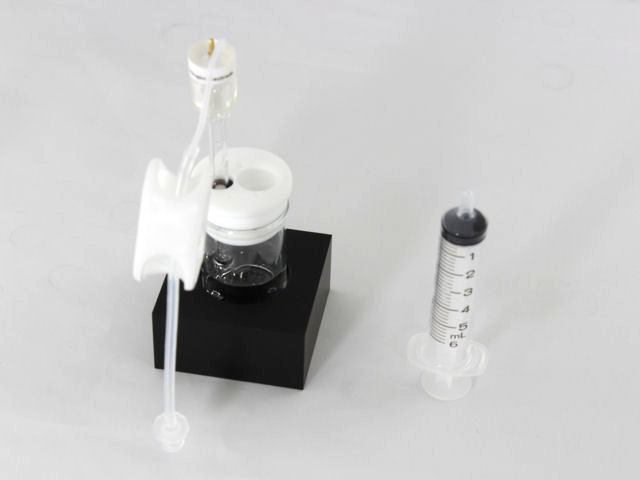
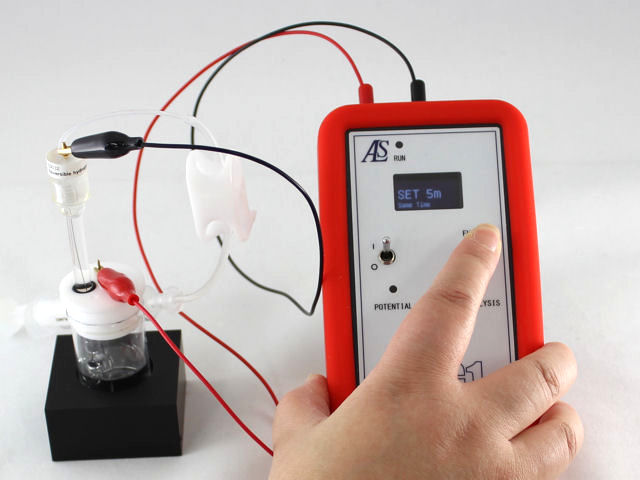
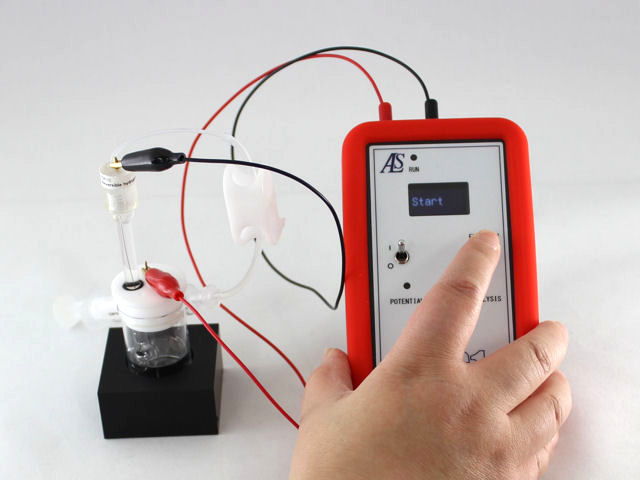
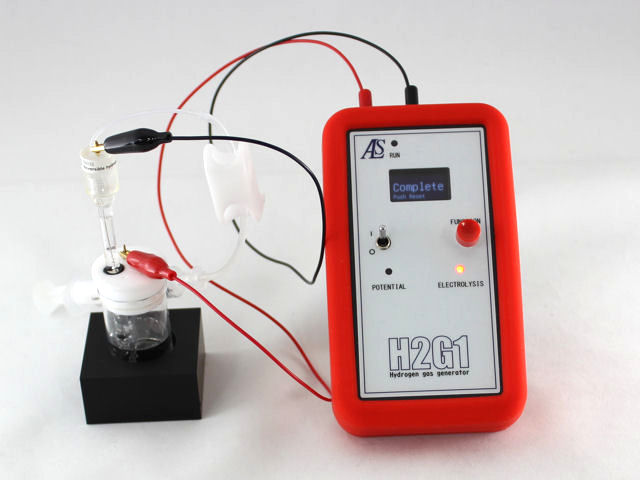
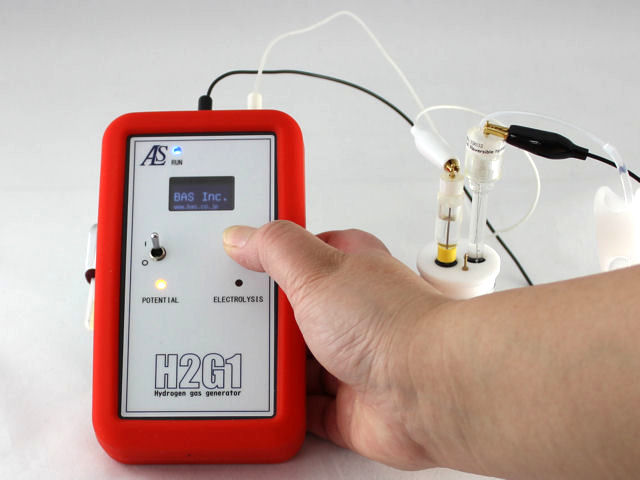
3.2 Operation of H2G1 for hydrogen generation
4. Potential measurement vs. RHE using H2G1
4.1 Setup(Configuration)

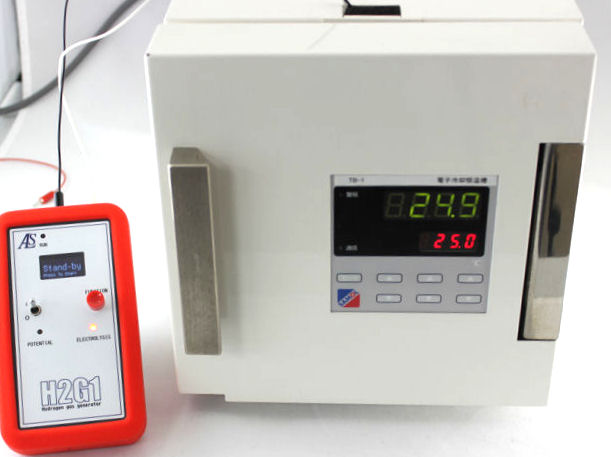
H2G1 Portable Hydrogen Generator
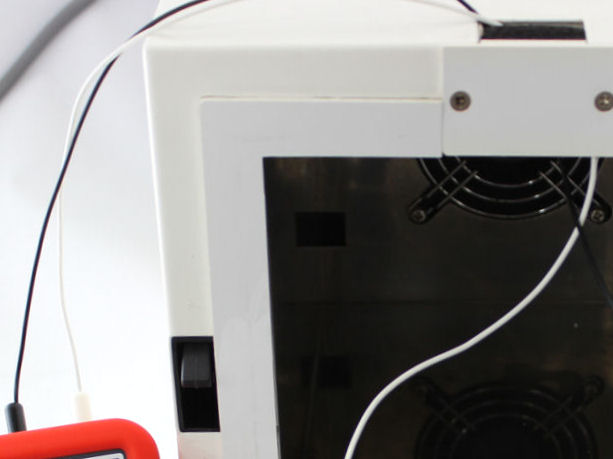
TB-1 Thermostatic Chamber
⋅ Accessories
RHEK Reversible Hydrogen Electrode Kit
RHE Reversible hydrogen electrode
Tubing clamp
Silicone tube (10 cm) x 3
O-ring
Female lure fitting
Disposable syringe
SVC-2 Voltammetry cell
(content)
Sample vial (20 ml) x 7
Platinum counter electrode 5.7 cm
Teflon cap for SVC-2
Purging tube 30 cm
RE-PV Preservative vial for reference electrode
Cell holder for 20 mL vial
⋅ Reagents
1.2 M HCl solution
3 M NaCl solution
Note
⋅ Take care of air bubbles.
⋅ Make sure to fit the O-ring into the hole of the Teflon cap of SVC-2.
4.2 Operation of H2G1 for RE-1BP potential measurement vs. RHE
Then set the RE-1BP Reference electrode (Ag/AgCl) into the Sample holder dia 9.0 mm in which 3 M NaCl solution is filled.
4.3 Use TB-1 to measure potential at 25℃